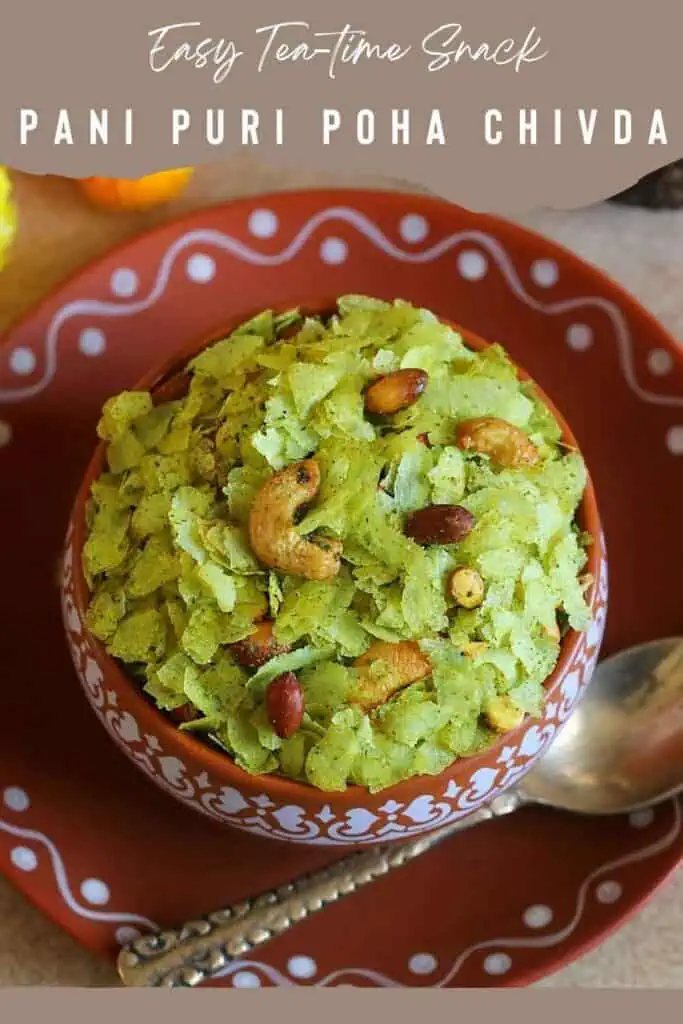
Get ready to spice up your Diwali snack platter with something exciting: Pani Puri Poha Chivda! This delicious snack is a crunchy treat that captures the flavors of the popular street food, pani puri, in every bite of poha. It’s perfect for adding a lively and tempting twist to your celebrations!
There’s something special about homemade snacks. You have the freedom to choose exactly what ingredients to use and adjust them to suit everyone’s tastes. Plus, they’re easy to make just the way you like!
Jump to:
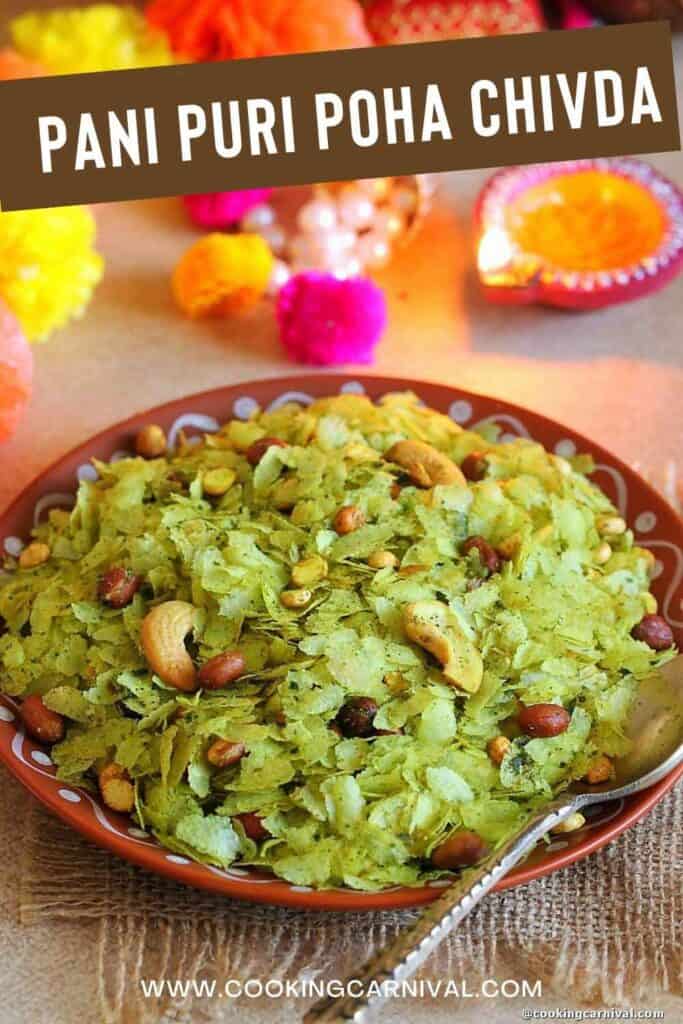
Chivda is a classic Indian snack that many people enjoy, especially during the Diwali Festival. It’s known by different names, such as Farsan and Namkeen, which simply means a tasty, salted snack in Hindi. Poha Chivda often joins the lineup of sweets and snacks, known collectively as “Faral,” during festivities. Alongside treats like ladoos, chaklis, and karanjis, this spiced cereal is a great option to share with family and friends.
Poha Chivda is made from flattened rice (known as poha), mixed with nuts, spices, and dried fruits. This year, I decided to give it a fun twist by incorporating the vibrant flavors of pani puri. I blended fresh mint, coriander, spicy chilies, and traditional pani puri seasonings to create a delicious paste, which I then mixed with the poha. The result is a crunchy snack that packs a punch of spicy and tangy flavor.
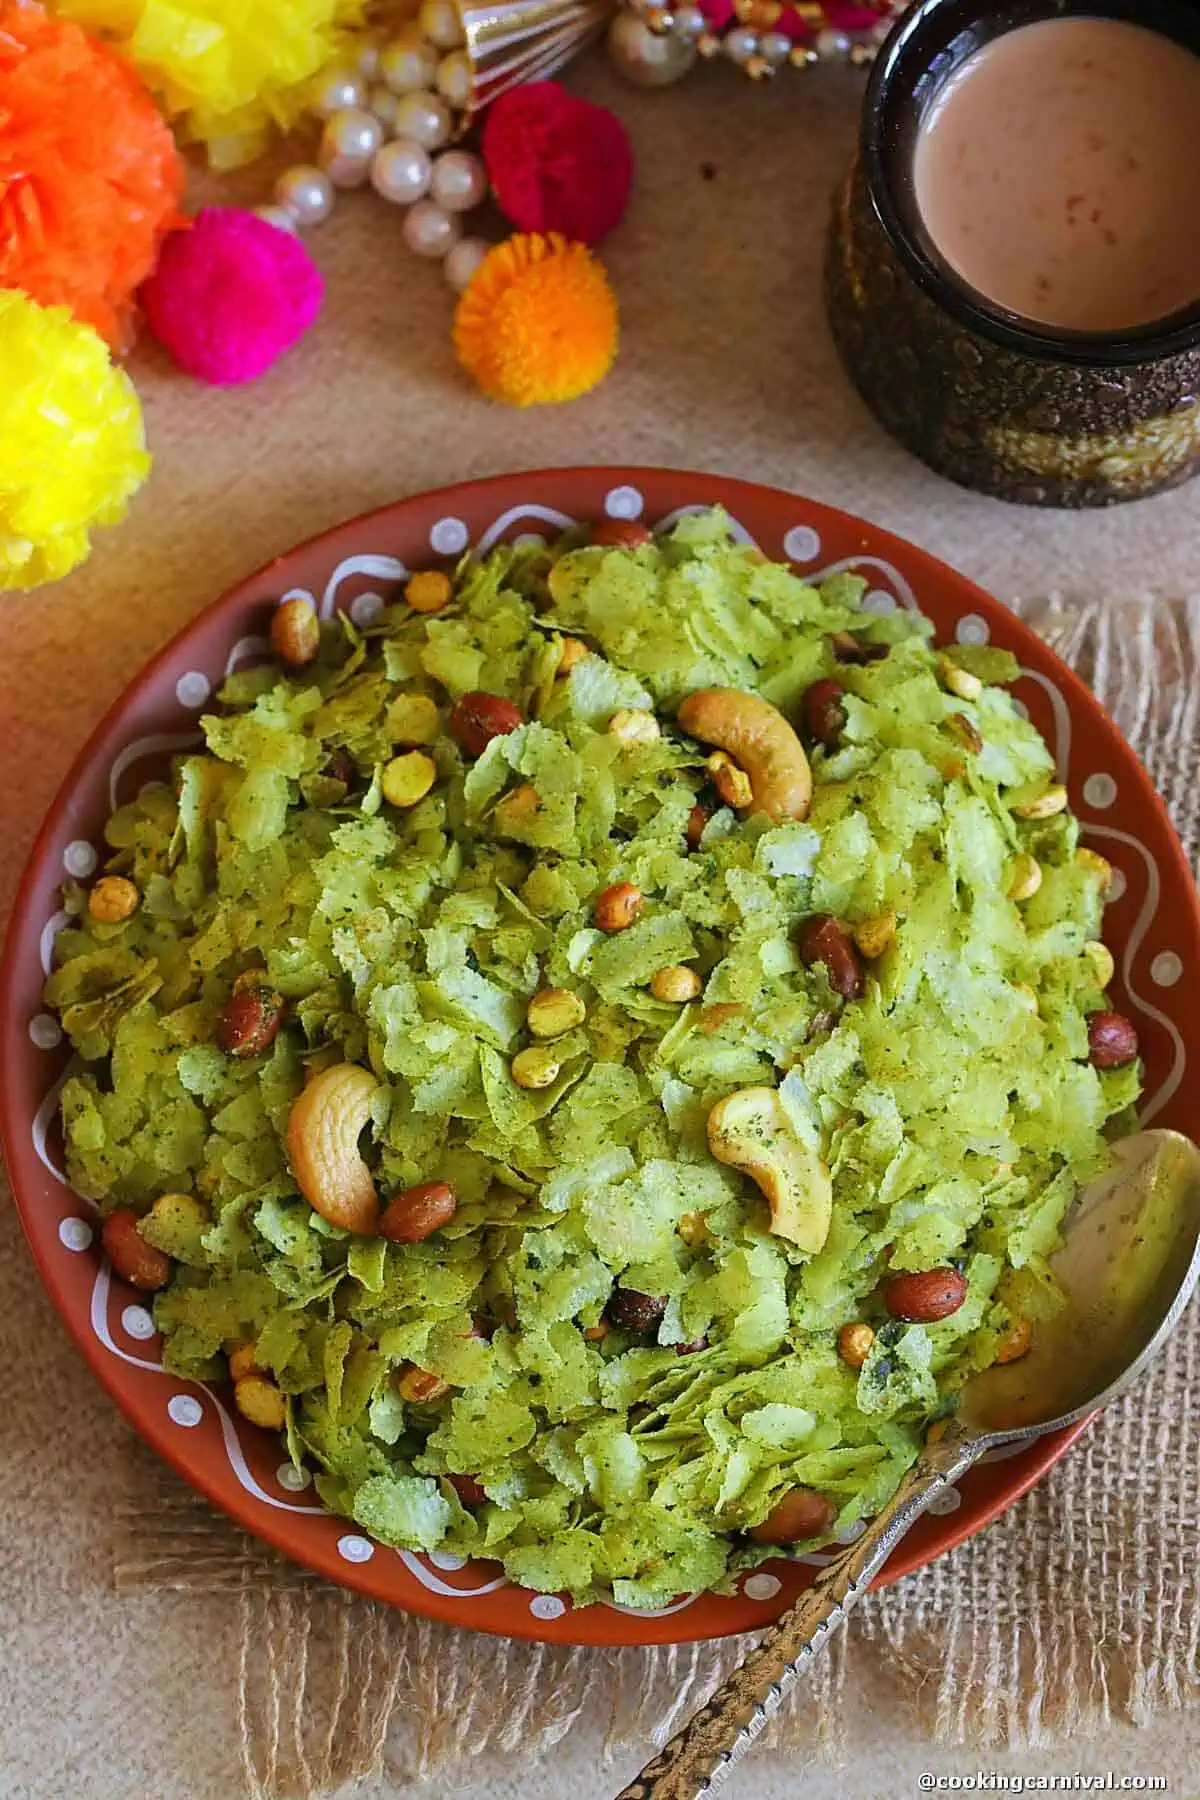
It’s a fantastic addition to your tea time or any celebration, making your snack platter for Diwali even more special. Just store it in an airtight container, and it will stay fresh for up to a month. Enjoy this unique combination of flavors and have a wonderful festive season! Let’s start the recipe.
Ingredients
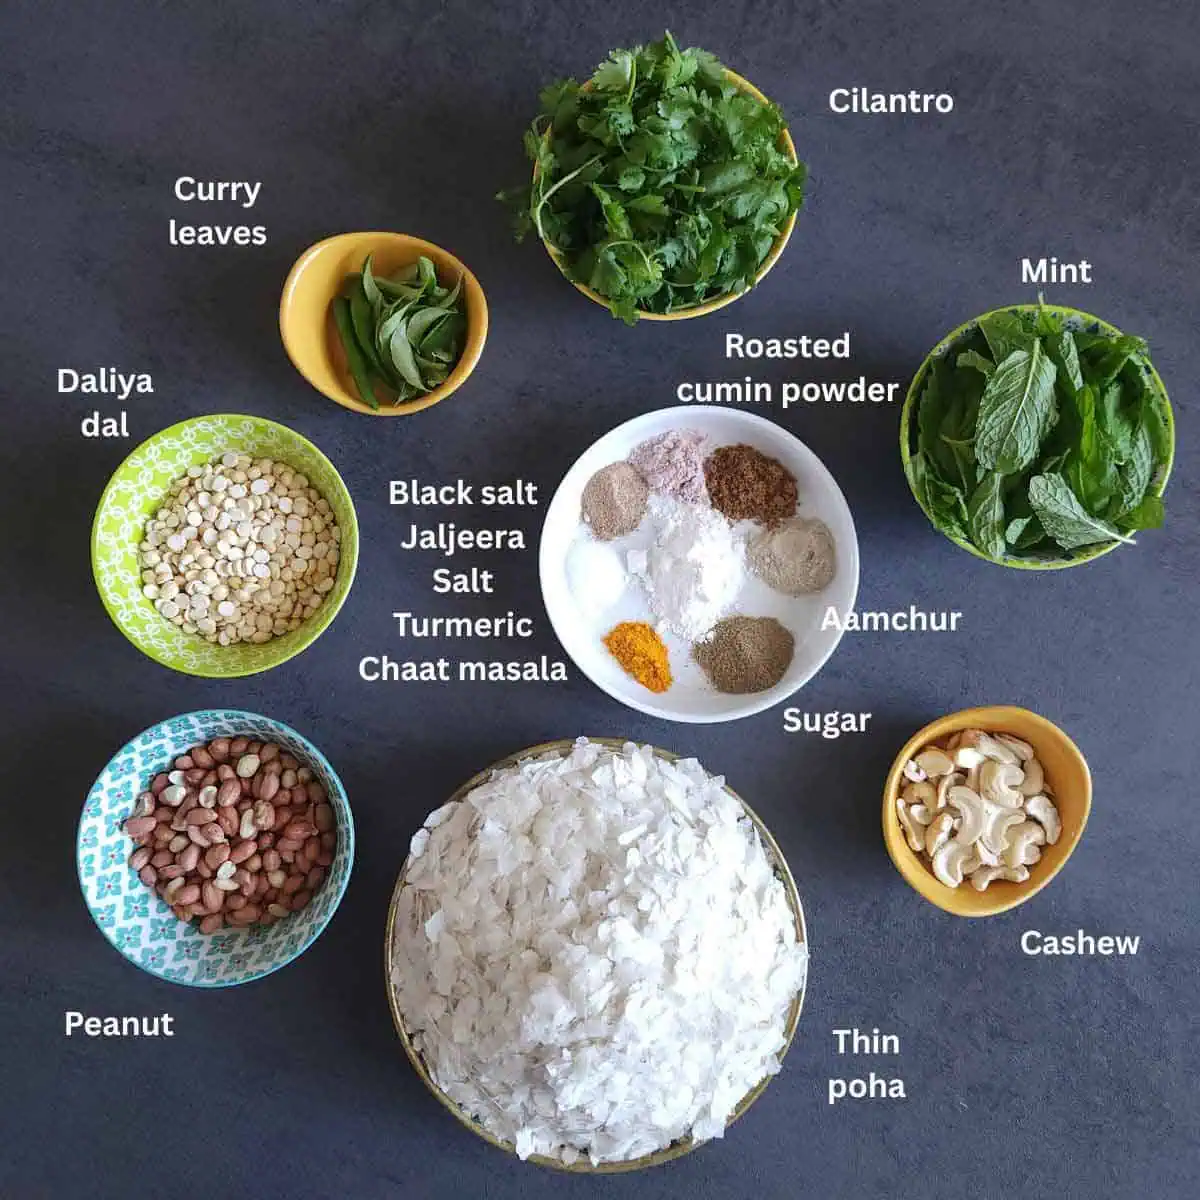
- Thin Poha Chivda: For this crunchy snack, you’ll want to use “thin” poha, which is a type of flattened rice found in Indian grocery stores. Avoid the thick poha, as it’s better suited for a hot breakfast dish and won’t work as well for this crunchy treat.
- Nuts and Daliya Dal: Adding nuts and daliya dal gives the Chivda a nice texture. I like to use cashews, peanuts, and daliya dal, but feel free to include almonds or raisins if you prefer, or skip the nuts entirely if you want.
- Fresh Herbs and Chilies: To pack in flavor, I fry fresh mint, cilantro, green chilies, and curry leaves. Frying these herbs and spices enhances their taste and makes it easy to enjoy without needing to pick them out later.
- Spices: A mix of spices is added to give the Chivda that unique pani puri flavor. This includes turmeric, chaat masala, jaljeera powder, roasted cumin powder, black salt, regular salt, and a pinch of asafoetida.
- Oil – Oil is used to fry the herbs and nuts, helping to bring all the flavors together and achieve the perfect crunch. I prefer peanut oil for its taste, but you can use any cooking oil you have on hand.
See recipe card for quantities.
Instructions
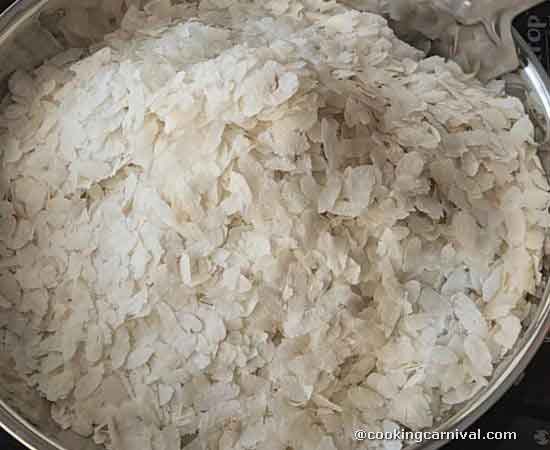
Step 1: Take a wide, heavy-bottomed pan or wok with a handle and place it on the stove. Keep the heat low, and then add the thin poha (flattened rice) to the pan. Gently roast the poha on a low flame, stirring occasionally and shaking the pan to ensure even roasting. Be careful not to stir too vigorously, as the poha is delicate and can break easily. In about 6 to 7 minutes, the poha will change texture and become crispy.
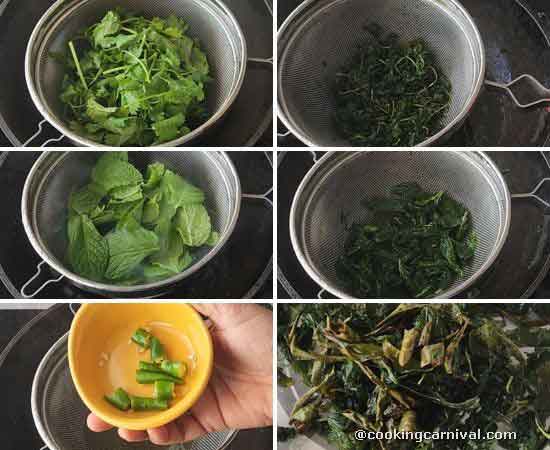
Step 2: Heat some oil in a frying pan until it’s hot. Once the oil is ready, use a heat-proof sieve or fine mesh strainer to fry the herbs. And cilantro, mint, green chilies, and curry leaves, one by one, until crisp. Make sure to fry them thoroughly until they are completely fried, with no moisture left. Once fried, place the herbs on a plate and let them cool. Now take fried herbs in a blender jar and blend into a smooth paste. Then add 2 tablespoon of oil into the blended green masala paste and mix well.
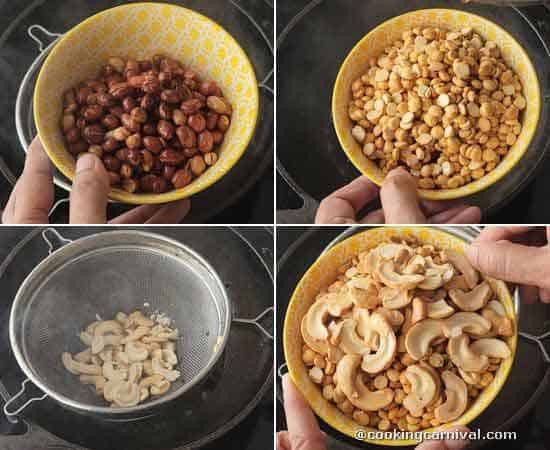
Step 3: Next, fry peanuts, cashews, and split roasted Daliya dal one by one until they turn crispy. Use a slotted spoon to remove them from the oil and place them on another paper towel-lined plate to drain any extra oil.
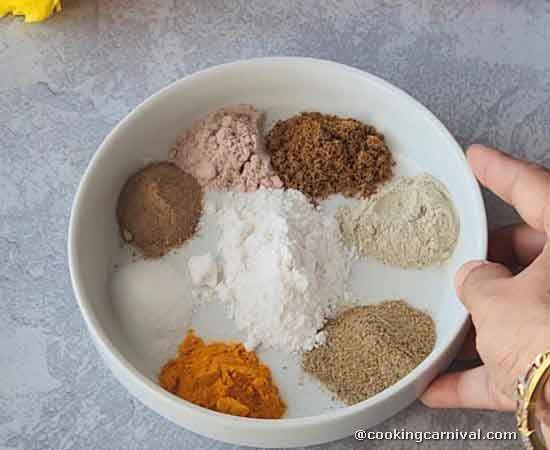
Step 4: Mix all the seasonings in a bowl. Keep it aside.
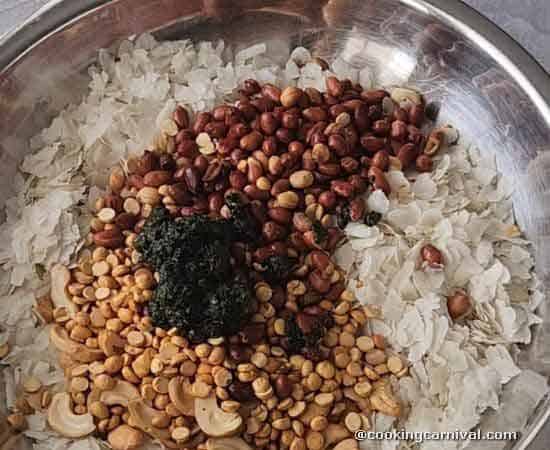
Step 5: Take roasted thin poha, fried nuts, green masala paste, and seasoning mix in a big mixing bowl. Now, mix everything gently. Make sure the roasted poha and fried nuts are evenly coated with the green paste and spices.
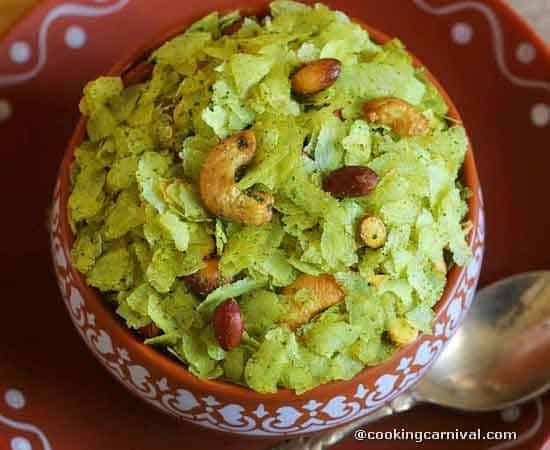
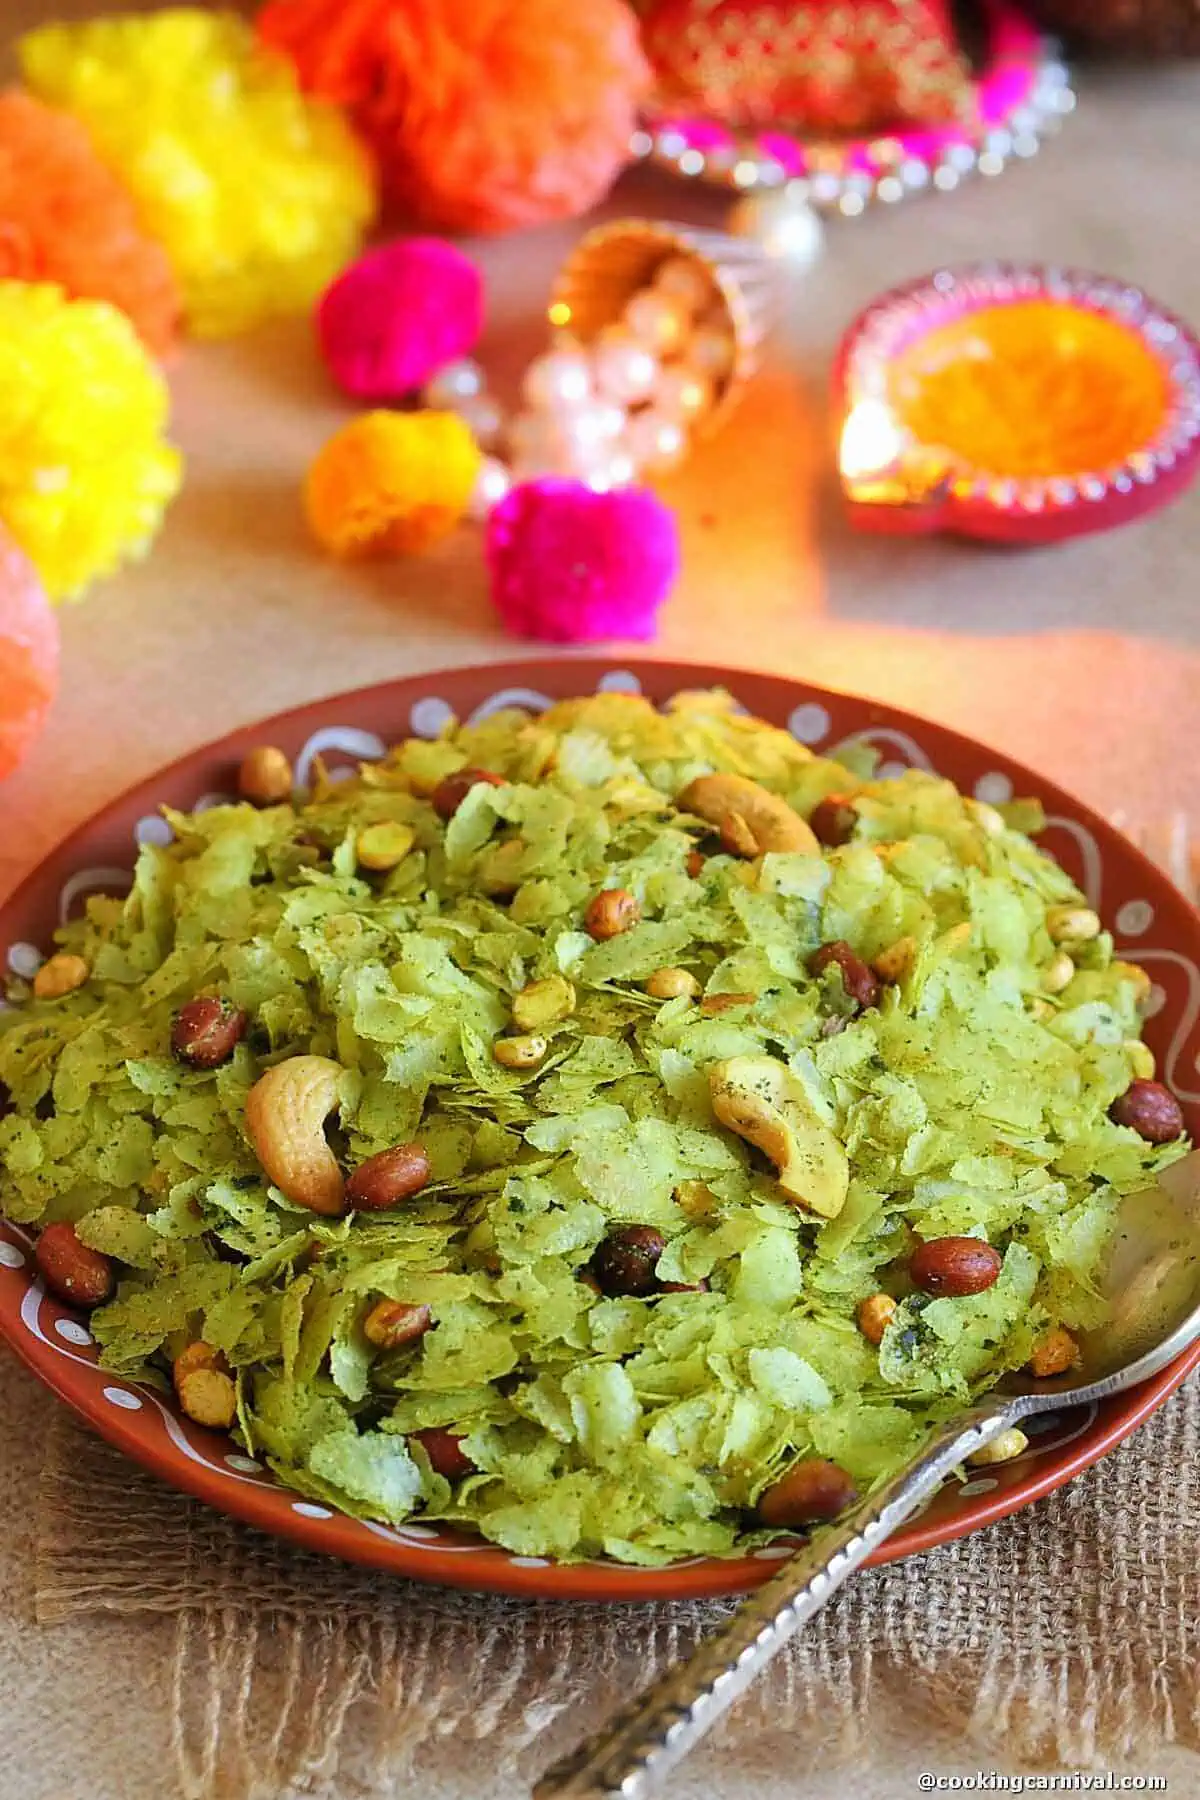
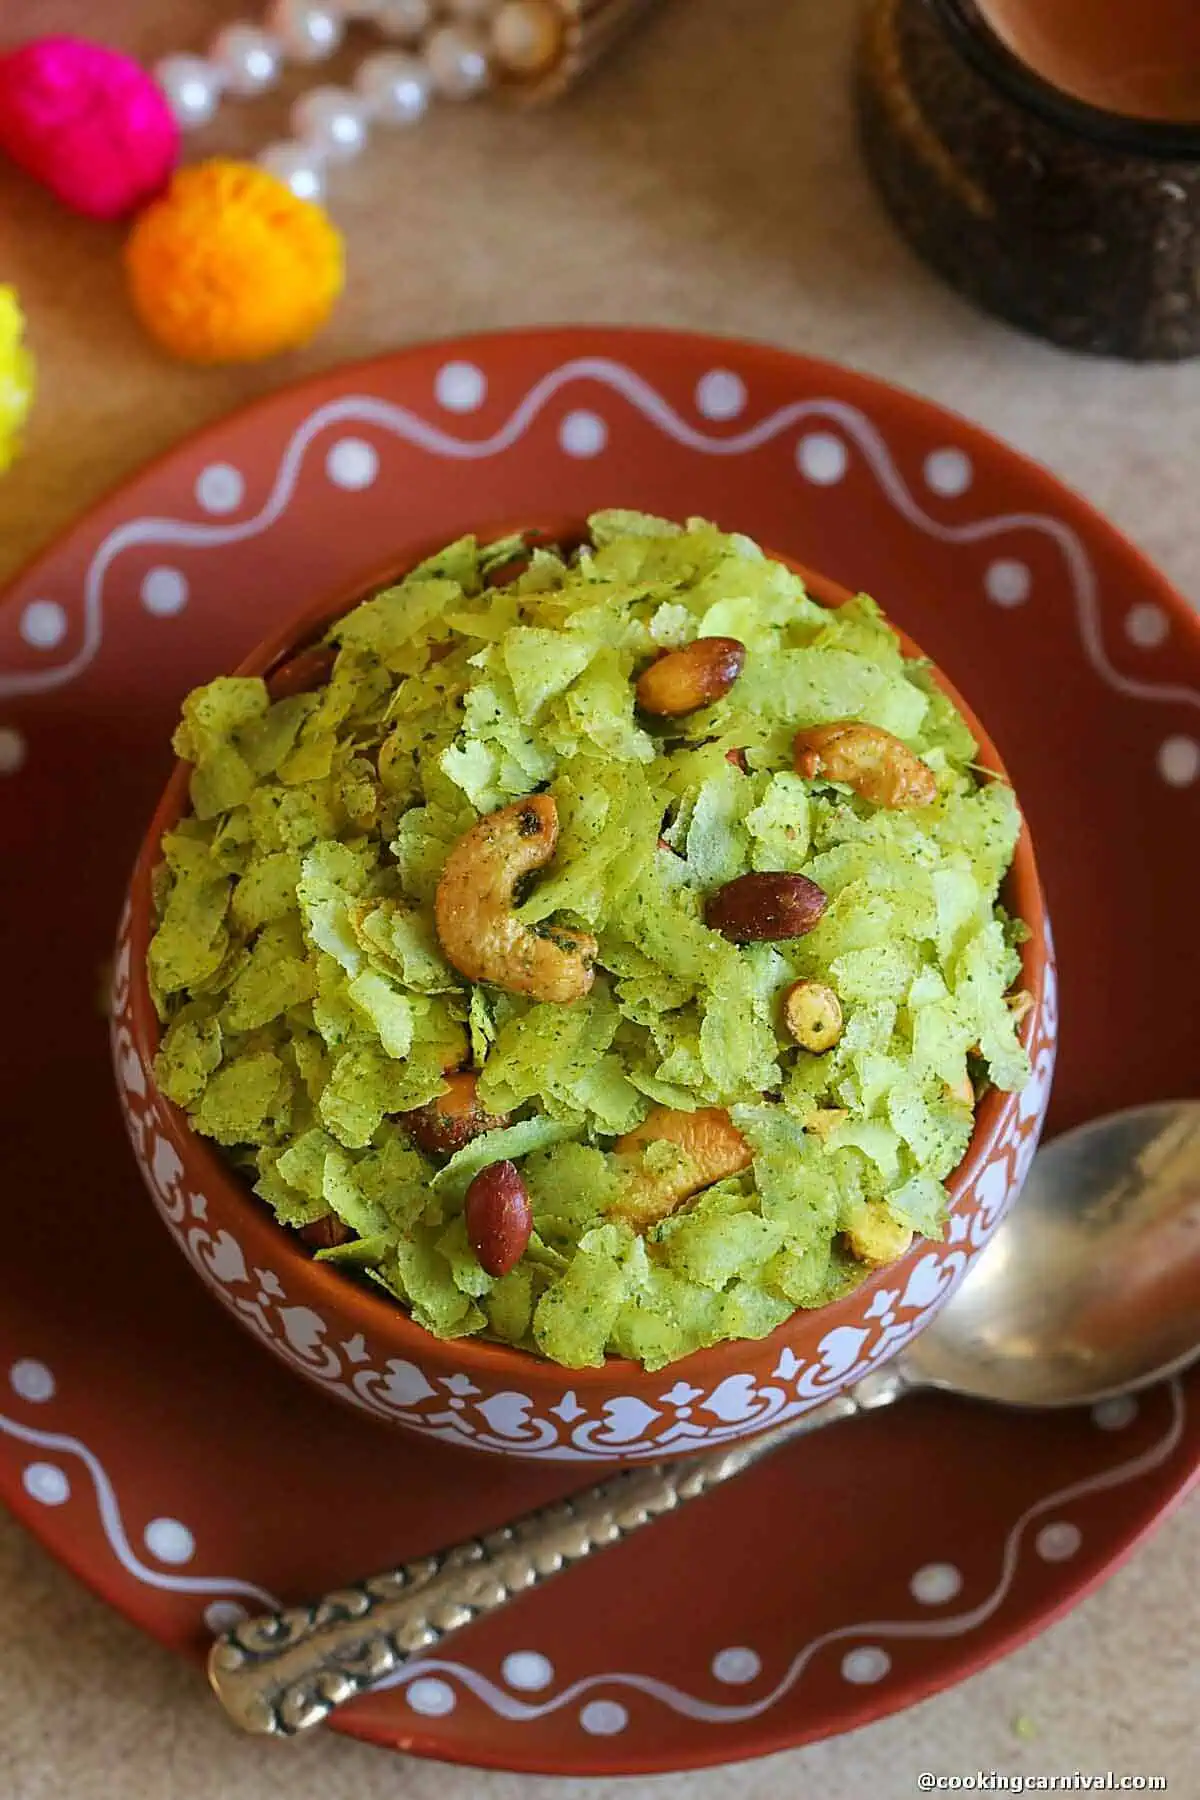
Step 6: And that’s it! You now have pani puri flavored roasted poha chivda ready. Enjoy with masala chai.
Different ways of roasting the thin poha
In an Air Fryer: Place the poha in a single layer in the air fryer basket. If there are larger openings in your basket, you might want to use a silicone mat or a special liner to prevent the poha from falling through. Cook it for 7-8 minutes, and remember to shake the basket once halfway through for even crispiness.
On the Stovetop: Use a wide pan and heat it on low. Spread the poha in a thin layer and let it roast until it becomes crispy, which usually takes about 5-7 minutes. Just give the pan a little shake or stir it once or twice.
In the Microwave: Spread the poha on a microwave-safe plate and cook it on high power for 2-3 minutes. Make sure to toss it once in the middle of cooking to help it crisp up evenly.
In the Oven: Preheat your oven to 350°F (about 175°C). Spread the poha in a thin layer on a baking tray and roast it for 10 minutes. Remember to stir it once midway through for the best results.
Sun Drying: You can also spread the poha on a flat dish or baking tray and cover it with a mesh to keep bugs away. Please place it in direct sunlight for 2 to 3 hours, or until it becomes crisp.
Storage
To keep your Roasted Pani Puri Poha Chivda fresh and crispy, it’s important to store it the right way. Here’s how:
1. Let It Cool: First, let the chivda sit and cool down to room temperature. This stops moisture from building up inside the container, which can make it soggy.
2. Use a Tight Container: Once cooled, put the chivda in a container that closes tightly. This keeps moisture out and helps it stay crunchy.
3. Seal It Well: Make sure the container is sealed snugly. If air gets in, it can make the chivda lose its crispness.
4. Store Safely: Place the container in a cool, dry spot, away from direct sunlight. This helps keep the chivda tasting great and feeling crunchy for a longer period.
Top tip
- This cooking process takes a bit of planning, so it’s a good idea to have all your ingredients ready before you start. You should also set up two plates or bowls lined with paper towels.
- Use a thin variety of poha and be gentle when mixing it during roasting to keep the flakes intact. You can either gently toss the poha if you’re roasting it on the stove or use the baking method that I mentioned earlier.
- Make sure to roast the Poha on a very low flame.
- To make the green paste, I fried some mint leaves, coriander leaves, green chilies, and curry leaves in oil. Cooking them this way helps remove all the moisture, giving the paste a vibrant green color. If you prefer, you can also dry these ingredients using sunlight or a microwave, grind them into a powder, mix that powder with oil, and use it to make the paste.
- In addition to the green paste, I prepared a special spice mix to give the poha chivda a unique and popular flavor of pani puri. I added jaljeera powder for a tangy kick, aamchur powder for an extra sour taste, and a little sugar to balance everything out. Feel free to adjust the spices to suit your taste!
- When you’re ready to coat the poha with the fried greens and spices, add some hot oil to the green paste to help spread everything evenly.
- Using a fine sieve is essential for this recipe. You can find these sieves at Indian grocery stores or on Amazon. They are really helpful for frying small pieces, making the process much easier and quicker.
- Make sure the sieve and all your ingredients are dry before you start frying.
- You will be frying everything one at a time, so being organized will save you time and effort.
- Fry the cilantro, mint, chilies, and curry leaves until they are crisp and dry; if they still have moisture, they can make the finished chivda soggy.
- Once you’re done, consider packing your roasted pani puri poha chivda in pretty jars or bags. It makes for a thoughtful homemade gift for Diwali or any celebration, and people will surely appreciate the unique and tasty treat.
- For the best flavor, use fresh and high-quality ingredients, including the poha, nuts, spices, and herbs.
- Remember to adjust the heat levels so you do not burn the poha.
FAQ
Thin rice flakes are quite delicate, so it’s important to handle them gently. When mixing your chivda, be sure to stir and toss the ingredients carefully, and shake the pan gently to combine everything.
If you’re cooking on the stove, make sure the heat is set to low. Using high heat can cause the poha and other ingredients to burn quickly. Gather all your ingredients and set them out in separate bowls or plates.
Related
Looking for other recipes like this? Try these:


Have you tried this Recipe? Please feed us with your feedback, ★ star ratings, and comments below.
You can also FOLLOW me on FACEBOOK, INSTAGRAM, and PINTEREST for more fabulous recipes and updates.
Subscribe to our YouTube Channel for tasty and easy video recipes.

Pani Puri Flavored Roasted Poha Chivda
Ingredients
- 250 grams thin poha/nylon poha
- 1 cup cilantro
- 1 cup Mint leaves
- 2 green chilies roughly chopped
- 1 string curry leaves
- ½ cup raw peanut
- ½ cup daliya dal
- ¼ cup cashes cut into halves
- 2 tablespoon oil
- ½ teaspoon turmeric powder
- 1 teaspoon black salt
- 1 teaspoon roasted cumin powder
- 1 teaspoon Jaljeera Powder
- ½ teaspoon aamchur powder
- ¼ teaspoon salt or to taste
- 1 tablespoon sugar
- 1 teaspoon chaat masala
- oil for frying.
Method
- Gather all your ingredients and set them out in separate bowls or plates.
- Take a wide, heavy-bottomed pan or wok with a handle and place it on the stove. Keep the heat low, and then add the thin poha (flattened rice) to the pan.
- Gently roast the poha on a low flame, stirring occasionally and shaking the pan to ensure even roasting. Be careful not to stir too vigorously, as the poha is delicate and can break easily. In about 6 to 7 minutes, the poha will change texture and become crispy. Avoid using high heat, as this might cause the poha to burn. Once done, transfer the roasted poha to a large bowl and set it aside.
- If you prefer, you can also roast the poha in an oven or air fryer, following the instructions specific to those methods. (check it in the notes section below)
- Heat some oil in a frying pan until it’s hot. Once the oil is ready, use a heat-proof sieve or fine mesh strainer to fry the herbs. And cilantro, mint, green chilies, and curry leaves, one by one, until crisp. Make sure to fry them thoroughly until they are completely fried, with no moisture left.
- Once fried, place the herbs on a plate and let them cool. Now take fried herbs in a blender jar and blend into a smooth paste. Then add 2 tablespoon of oil into the blended green masala paste and mix well.
- Next, fry peanuts, cashews, and split roasted Daliya dal one by one until they turn crispy. Use a slotted spoon to remove them from the oil and place them on another paper towel-lined plate to drain any extra oil.
- Take roasted thin poha, fried nuts, green masala paste, and all the seasonings in a big mixing bowl.
- Now, mix everything gently. Make sure the roasted poha and fried nuts are evenly coated with the green paste and spices.
- And that’s it! You now have Pani puri roasted poha chivda ready to Enjoy!
Nutrition
Notes
- This cooking process takes a bit of planning, so it’s a good idea to have all your ingredients ready before you start. You should also set up two plates or bowls lined with paper towels.
- Use a thin variety of poha and be gentle when mixing it during roasting to keep the flakes intact. You can either gently toss the poha if you’re roasting it on the stove or use the baking method that I mentioned earlier.
- Make sure to roast the Poha on a very low flame.
- To make the green paste, I fried some mint leaves, coriander leaves, green chilies, and curry leaves in oil. Cooking them this way helps remove all the moisture, giving the paste a vibrant green color. If you prefer, you can also dry these ingredients using sunlight or a microwave, grind them into a powder, mix that powder with oil, and use it to make the paste.
- In addition to the green paste, I prepared a special spice mix to give the poha chivda a unique and popular flavor of pani puri. I added jaljeera powder for a tangy kick, aamchur powder for an extra sour taste, and a little sugar to balance everything out. Feel free to adjust the spices to suit your taste!
- When you’re ready to coat the poha with the fried greens and spices, add some hot oil to the green paste to help spread everything evenly.
- Using a fine sieve is essential for this recipe. You can find these sieves at Indian grocery stores or on Amazon. They are really helpful for frying small pieces, making the process much easier and quicker.
- Make sure the sieve and all your ingredients are dry before you start frying.
- You will be frying everything one at a time, so being organized will save you time and effort.
- Fry the cilantro, mint, chilies, and curry leaves until they are crisp and dry; if they still have moisture, they can make the finished chivda soggy.
- Once you’re done, consider packing your roasted pani puri poha chivda in pretty jars or bags. It makes for a thoughtful homemade gift for Diwali or any celebration, and people will surely appreciate the unique and tasty treat.
- For the best flavor, use fresh and high-quality ingredients, including the poha, nuts, spices, and herbs.
- Remember to adjust the heat levels so you do not burn the poha.
- In an Air Fryer: Place the poha in a single layer in the air fryer basket. If there are larger openings in your basket, you might want to use a silicone mat or a special liner to prevent the poha from falling through. Cook it for 7-8 minutes, and remember to shake the basket once halfway through for even crispiness.
- On the Stovetop: Use a wide pan and heat it on low. Spread the poha in a thin layer and let it roast until it becomes crispy, which usually takes about 5-7 minutes. Just give the pan a little shake or stir it once or twice.
- In the Microwave: Spread the poha on a microwave-safe plate and cook it on high power for 2-3 minutes. Make sure to toss it once in the middle of cooking to help it crisp up evenly.
- In the Oven: Preheat your oven to 350°F (about 175°C). Spread the poha in a thin layer on a baking tray and roast it for 10 minutes. Remember to stir it once midway through for the best results.
- Sun Drying: You can also spread the poha on a flat dish or baking tray and cover it with a mesh to keep bugs away. Please place it in direct sunlight for 2 to 3 hours, or until it becomes crisp.
Private Notes
Tried this recipe?
Let us know We would love to hear your thoughts! Please leave your comments, ratings, and any ideas or changes you think could help us make our recipes even better. Thank you for your feedback!Warm Regards,
Dhwani.


Leave a Reply